The DataGalaxy Desktop Connector application is a wizard for importing metadata from your existing systems into the DataGalaxy platform. This article explains how the application works when run with its graphical interface.
Launching the DataGalaxy Connector Desktop application
The application is launched from the .exe file available at the root of the connector folder.
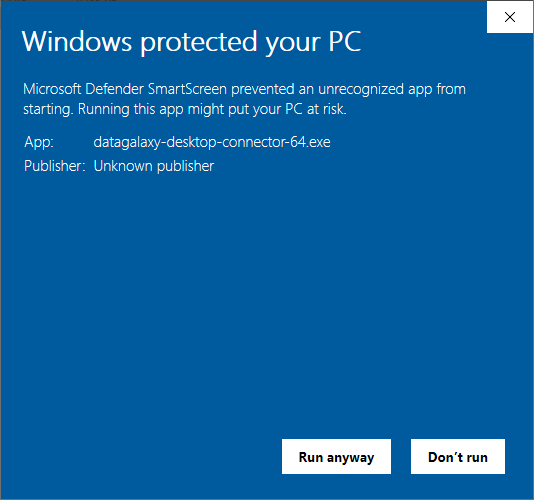
If the run button is not present to launch the connector, you can proceed as follows:
- Right click on the runtime file, for example: datagalaxy-desktop-connector-64.exe
- Select Properties
- Click on the Unblock button of the General tab
- Click on Apply / OK and exit the window
- The application can then be launched
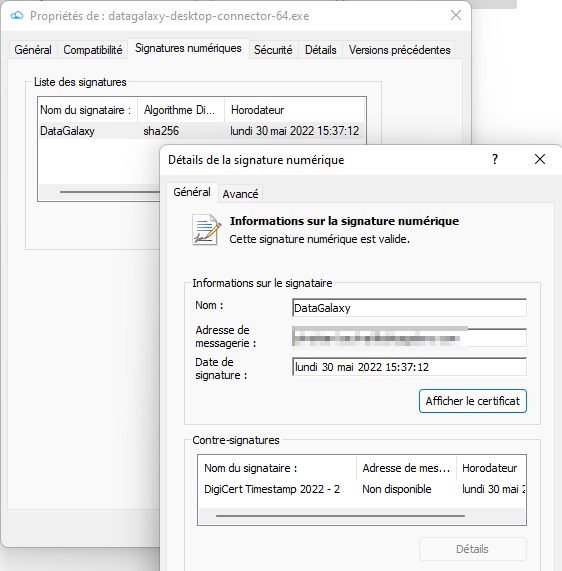
You can check the presence and the content of the certificate from the properties of the executable:
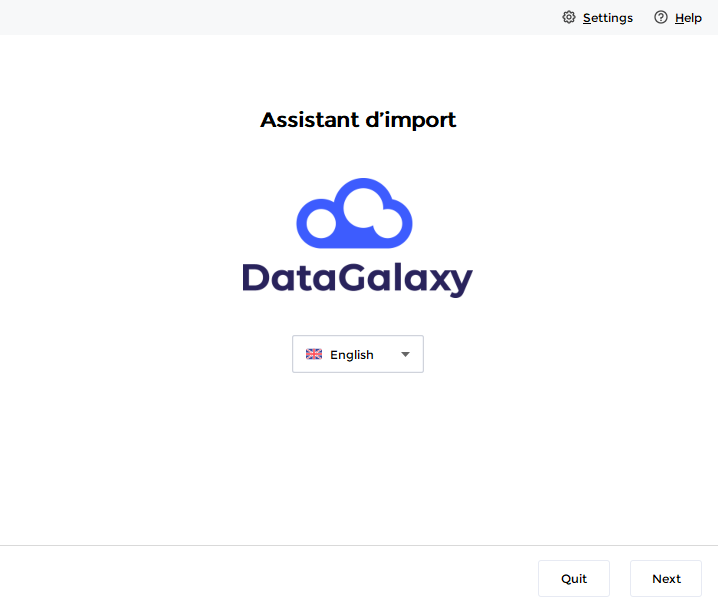
Language selection
At launch, choose the interface language:
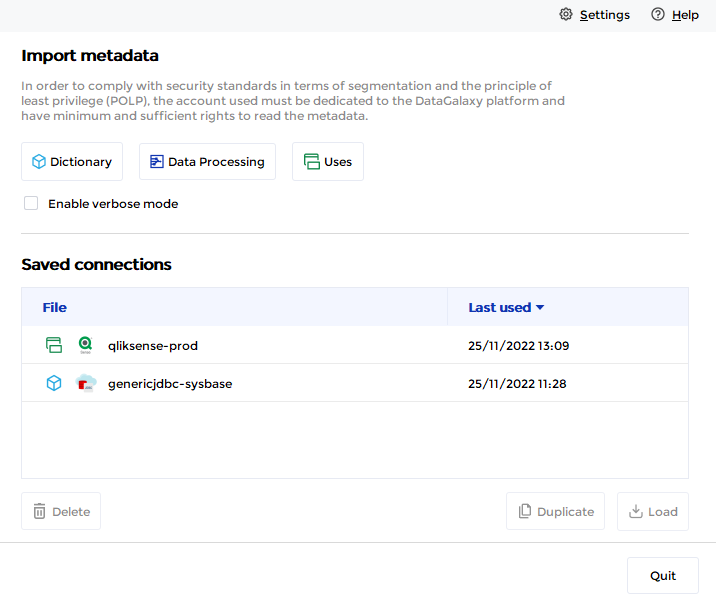
Welcome screen
On this screen, you can :
- Select the target module : where do you want to import data in the platform
- Activate the verbose mode: useful in case of error, the log file generated can be sent to our support teams via the online help portal or directly from the platform. Leave this option unselected by default.
- Select a saved connection to execute a new import
Choose your tool technology
Depending on the selected module and the plugins you have installed, the list of available technologies is displayed:
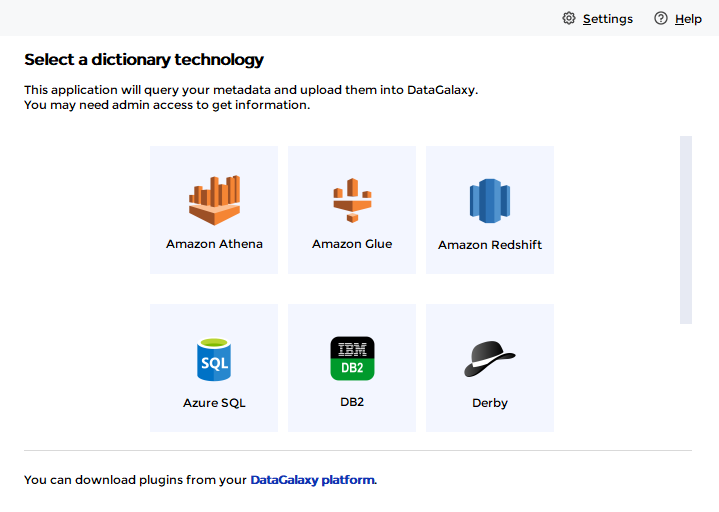
Click on the technology from which you want to import.
Connection screen
This screen allows you to declare the connection information. This is specific to each plugin, and is detailed in the associated help articles.
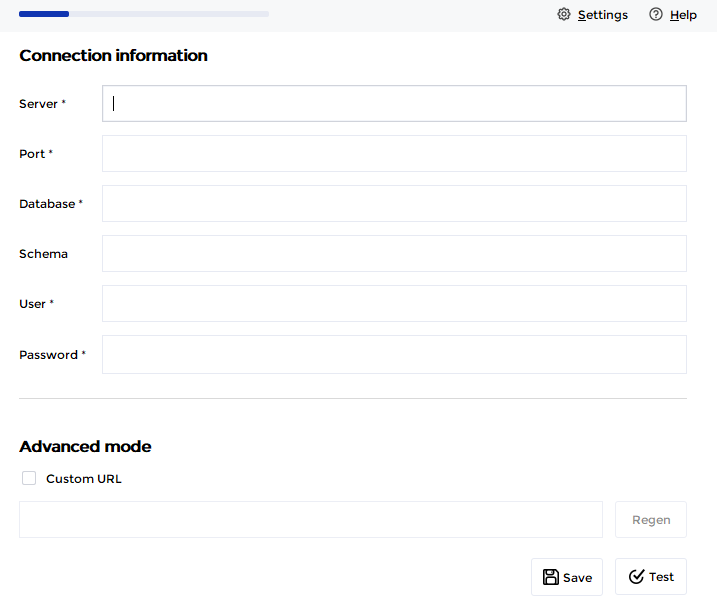
When a "Test" button is available, it is mandatory to use it to validate the connection and go to the next step.
The Save button allows you to save the connection in order to be able to use it again the next time you run the connector.
Metadata selection
Depending on the technology used, this screen will allow you to limit the scope of metadata to be exported:
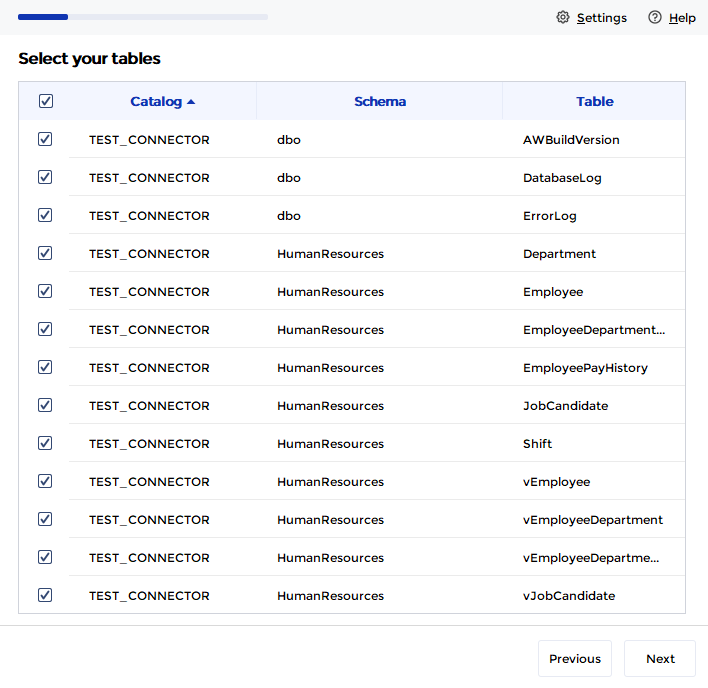
Export mode selection
The connector offers 2 export modes:
- CSV file: in which case it will be necessary to manually import the file into the platform
- DataGalaxy API: the exported metadata will be directly published in the platform using the DataGalaxy API
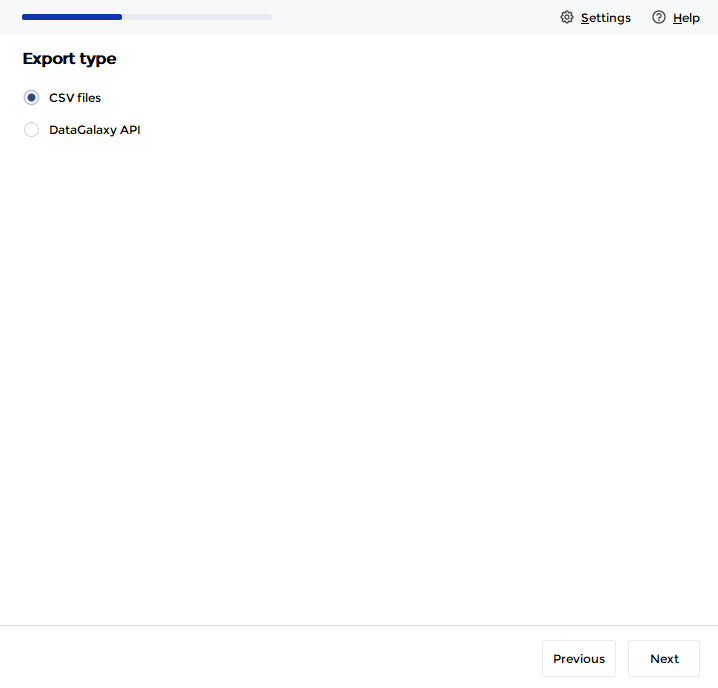
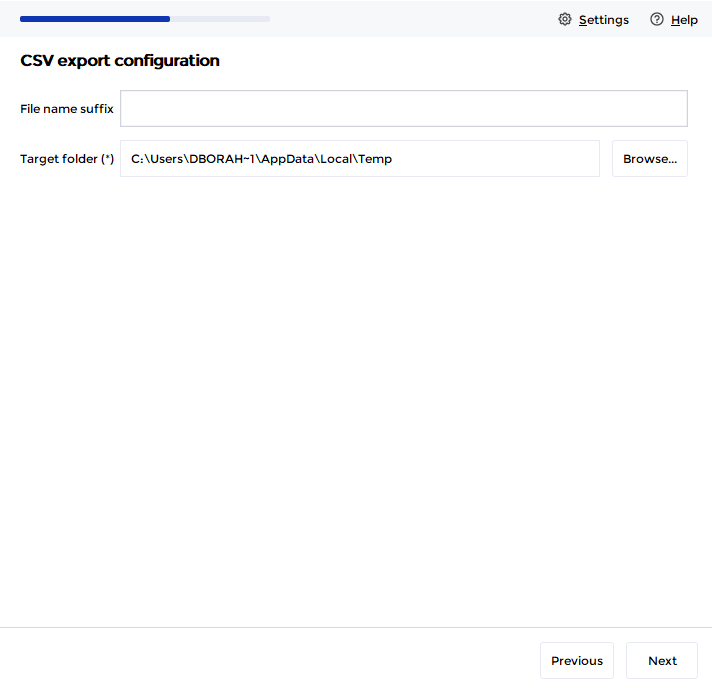
Export to CSV
Select the directory where you want to store the generated CSV files:
Export via API
Authentication
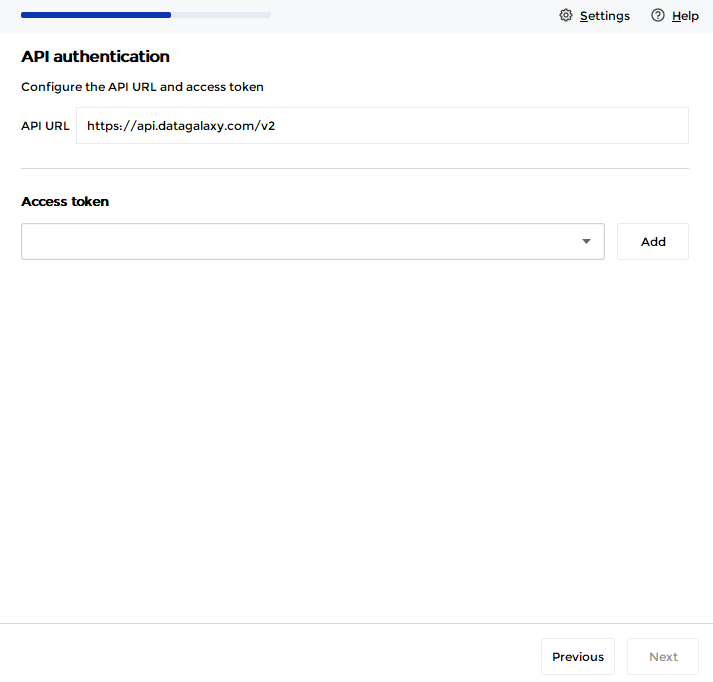
From this screen you can :
- Change the URL of the target API server: by default, the connector calls the API of the DataGalaxy shared server. If you have a dedicated instance, this URL must be modified to match your instance (this default value can be modified in the /conf/
application.propertiesfile)
- Select an existing token or register a new one
Selection of destination
This step allows you to select the target workspace, its version and the source object of the dictionary that should host the metadata:
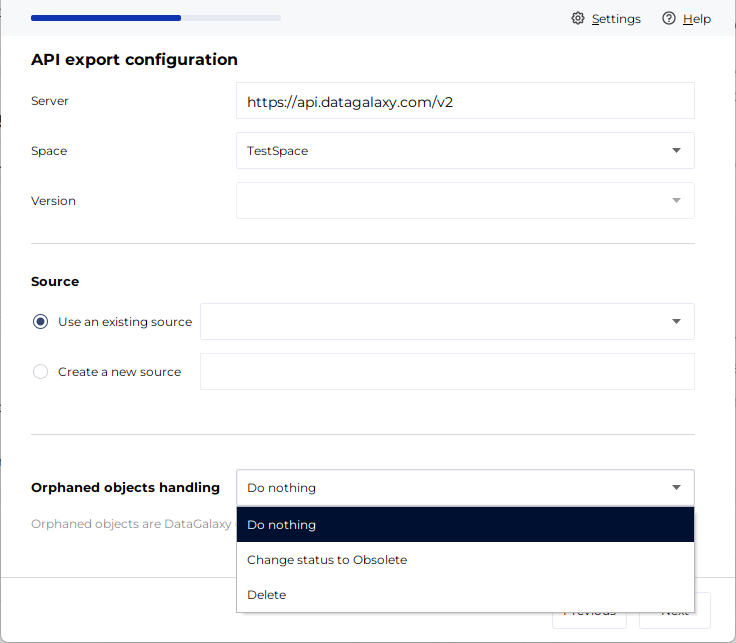
There is also a section during the import to a dictionary-type module titled "Orphaned objects handling" (available since version 4.7.1 if you use the desktop connector). It allows for 3 types of actions on objects still present in DataGalaxy but no longer existing in the source technology. These 3 actions are:
- Do nothing (default behavior)
- Change status to obsolete (sets the status of objects that no longer exist in the source technology to Obsolete)
- Delete (deletes from DataGalaxy the objects that no longer exist in the source technology)
Detailed information about this feature is available on Orphaned Objects Handling.
Summary
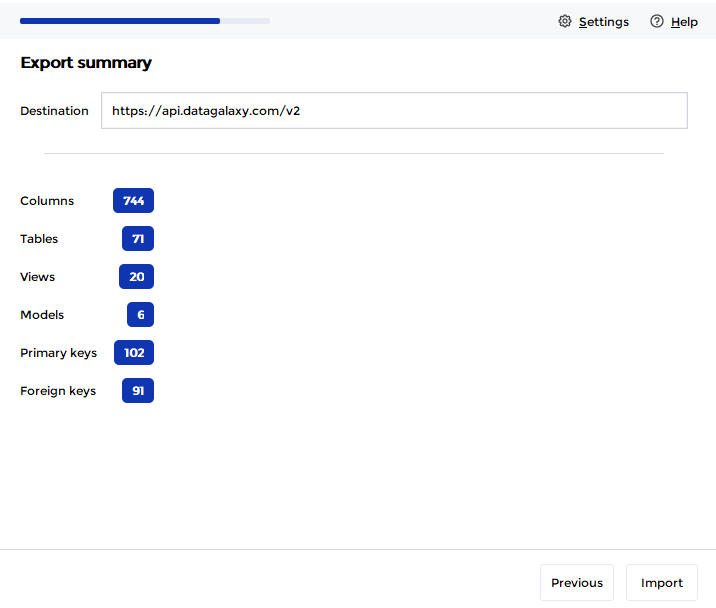
This step displays a summary of the objects that have been identified in the source technology, and reminds you of the destination into which this metadata will be imported.
Click on Import
Done!
This last screen allows you to check the correct operation of the import, and reminds you of the destination used:
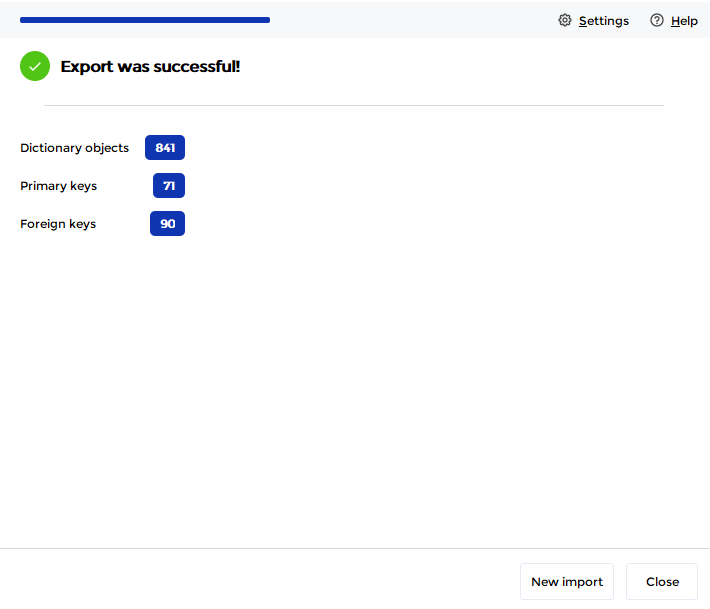
You can return to the home screen by clicking on New Import, or close the application.