This article explains how the Hubspot connector for DataGalaxy works.
This connector is available in the following modes:
| Desktop mode | SaaS Online mode |
|---|---|
| ✅ | ✅ |
Connector scope
The connector allows you to import the following metadata from Hubspot into a Relational source:
- Standard objects: products, line_items, deals, contacts, tickets, quotes, companies, engagements
- Custom objects
By default, the functional and technical label attributes are populated for the entire scope.
Additional attributes are also filled in depending on the technology and by type of object. To make them appear in DataGalaxy screens, it may be necessary to adapt the screens of the concerned objects. See this article to learn more about screen customization.
The following table details the objects and attributes retrieved, and their correspondences in DataGalaxy :
| Hubspot object | DataGalaxy object | DataGalaxy attributes | Comments |
|---|---|---|---|
| Object | Table (structure) | Technical type, Creation date of the source object, Last modification date of the source object | |
| Field | Column | Technical type, Creation date of the source object, Last modification date of the source object | The connector allows you to import the visible (not hidden and not deleted) properties of objects. |
Configuration of a connection
The following information is required to set up a connection:
| Parameter | Mandatory | Description |
|---|---|---|
| API URL | Yes | HubSpot API URL, default value: https://api.hubapi.com |
| Access Token | Yes | Identifier of the access token of a private application. The following documentation explains how to generate it: Private Apps. The application must have read rights on the full crm.* domain to get all standard and custom objects. |
Execution of the connector
To create a connection to Hubspot via the Online connector, the entry points are as follows:
- From the Import button of the "Shortcuts" widget on the home screen of a client space or workspace
- From the Import button of one of the modules when it is empty
- From the Import button in the contextual menu of one of the modules, on the right side of the filtered views
- From the Add a connection button in the Connector tab available in the workspace setup screen
You can optionally filter (by module, connector type or by using the search bar), then click on the desired technology:
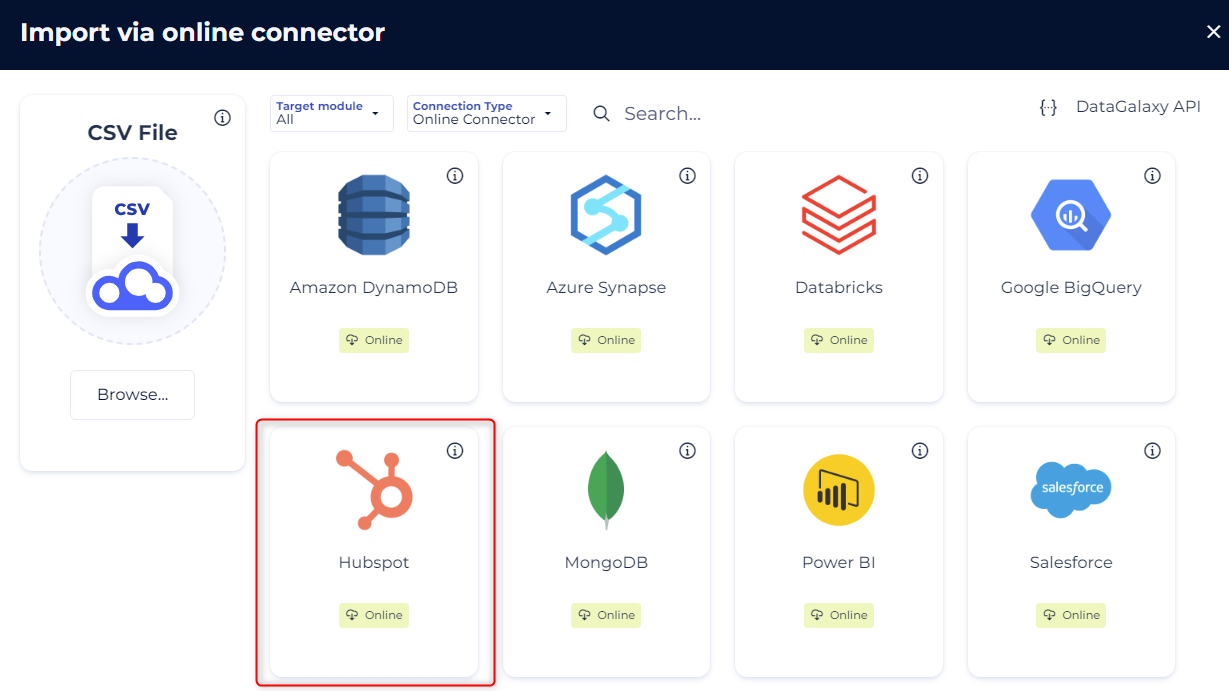
You then need to complete the login form using the login information described above to perform an import. For more details on the steps involved in running the Online connector, you can consult the following article: Running the Online connector.
This technology is also available via the Desktop Connector, you can find more information on the procedure here: Desktop Connector Operating Mode.
Releases
| Date | Plugin Version | DataGalaxy release | Desktop Connector version (minimum) | Description |
|---|---|---|---|---|
| 29/09/2026 | 3.0.1 | 3.423.0 | 6.2.2 | New internal implementation to fix security vulnerabilities |
| 09/06/2026 | 2.0.2 | v3.352.0 | 5.15.12 | Fixed some security vulnerabilities |
| 23/08/2024 | 2.0.1 | v3.69.0 | 5.2.3 | Updated the logger to show more information when using verbose mode |
| 30/07/2024 | 2.0.0 | v3.63.0 | 5.0.4 | Migrated from java 11 to java 17 + CVE fixes |