This article describes how DataGalaxy Azure Synapse connector works.
This connector is available in the following modes:
| Desktop mode ✅ | SaaS Online mode ✅ |
|---|
For general information about how to connect to Azure Synapse, please refer to the service documentation here.
Connector scope
The connector allows you to import the following metadata from Azure Synapse into a Database source:
- The set of schemas for a given database
- The content of the schemas: tables, views and columns
- Primary keys
The extracted objects and their correspondences are detailed in the following table:
| Azure Synapse Object | DataGalaxy Object | Comments |
|---|---|---|
| Schema | Model (Container) | |
| Table | Table (Structure) | |
| View | View | |
| Column | Column | Name, data type (size and precision), order are returned when available. |
| Primary Key | Primary Key |
Configuration of a connection
Azure Synapse connector uses the ODBC Driver 17 for SQL Server by Microsoft.
The following information is required to set up a connection:
| Parameter | Mandatory | Description |
|---|---|---|
| Server | Yes | Full domain name (FQDN) of the Synapse instance, example: mysynapseserver.sql.azuresynapse.net Serverless and dedicated pools are both supported. |
| Port | Yes | Synapse database TCP port, default 1433 |
| Database | Yes | Limits the scope to the specified database (SQL Pool identifier) |
| Available authentication modes: | ||
| SQL/AAD password (desktop)/ AAD password with MFA (desktop) | ||
| User | Yes | User name |
| Password | Yes | User password |
| AAD Service principal (desktop) | ||
| Tenant ID | Yes | Tenant ID |
| Client ID | Yes | Client ID |
| Client Secret | Yes | Client secret |
Execution of the connector
To create a connection to Azure Synapse via the Online connector, the entry points are as follows:
- From the Import button of the "Shortcuts" widget on the home screen of a client space or workspace
- From the Import button of one of the modules when it is empty
- From the Import button in the contextual menu of one of the modules, on the right side of the filtered views
- From the Add a connection button in the Connector tab available in the workspace setup screen
You can optionally filter (by module, connector type or by using the search bar), then click on the desired technology:
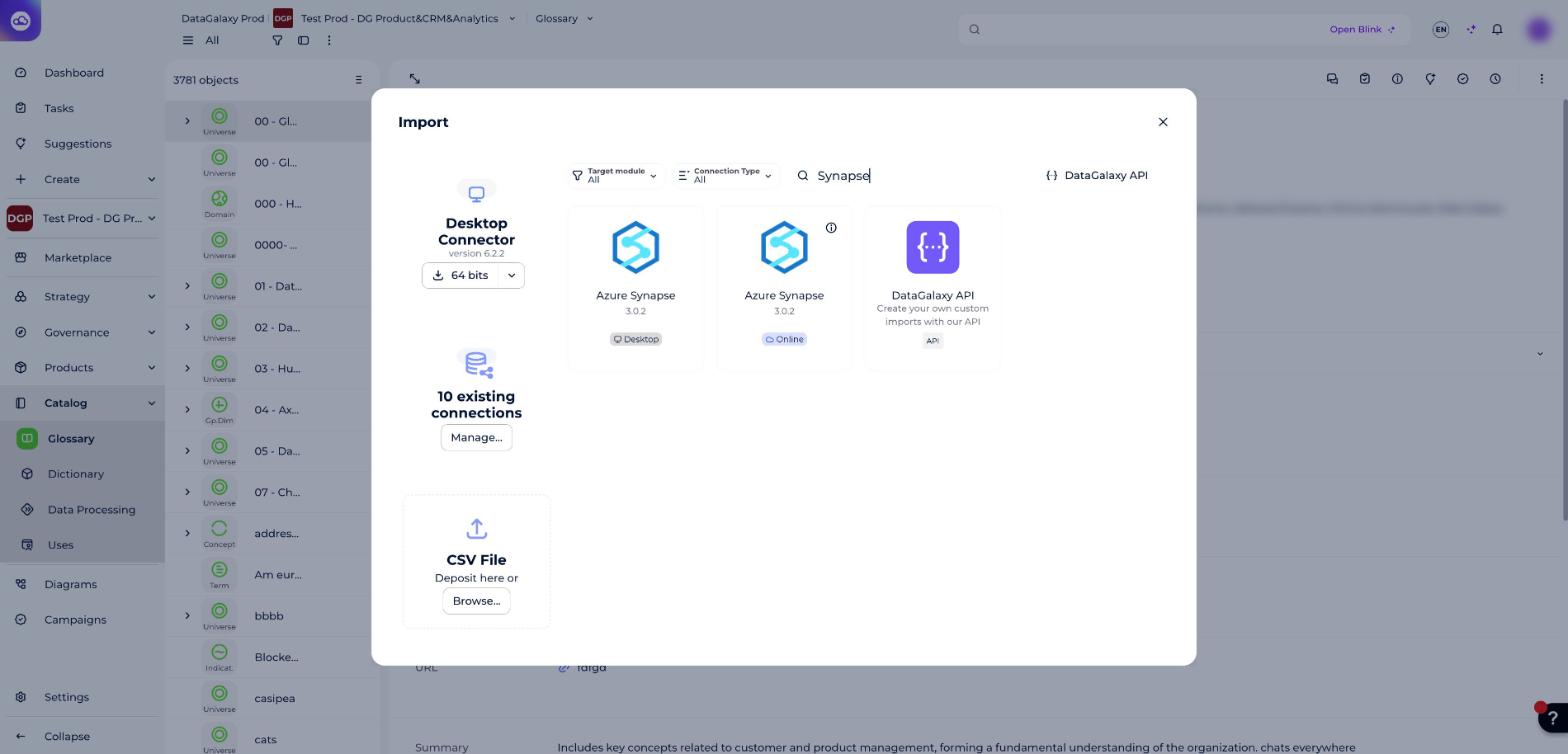
You then need to complete the login form using the login information described above to perform an import. For more details on the steps involved in running the Online connector, you can consult the following article: Running the Online connector.
This technology is also available via the Desktop Connector, you can find more information on the procedure here: Desktop Connector Operating Mode.
Releases
| Date | Plugin Version | DataGalaxy release | Desktop Connector version (minimum) | Description |
|---|---|---|---|---|
| 29/09/2026 | 3.0.1 | 3.423.0 | 6.2.2 | New internal implementation to fix security vulnerabilities |
| 07/07/2026 | 2.0.3 | v3.376.0 | 5.18.2 | New internal implementation |
| 16/07/2024 | 3.0.0 | v3.59.0 | 5.0.1 | Migrated from java 11 to java 17 + CVE fixes |
| 08/03/2024 | 1.4.1 | v3.34.0 | 4.5.0 | Addition of authentication modes (desktop) |