Screens can be customized at the workspace level. The process is identical to customizing screens at the client-space level, but the inheritance rules aren't the same between the two levels — so it's important to distinguish them.
The source article also referenced companion articles on DataGalaxy's core concepts, client-space screen customization, the object sheet, and workspace-level user administration — not yet part of this migration batch, so those links aren't included here.
How do I customize the workspace's screens?
These settings are only available when you have several workspaces. If you have only one workspace, settings are configured directly from the Administration > Screens menu instead.
To customize a workspace's screens, first make sure you're an administrator of that workspace, and therefore hold a Data Steward license. To check, go to your profile, where your license level is shown.
Customizing screens at the workspace level:
- Won't affect other workspaces.
- Won't stay synced with changes made to the screen at the client-space level.
- Will, however, affect data-import forms.
Removing an attribute from a screen doesn't delete the attribute — it remains available.
Follow these steps to customize screens:
- Go to Settings, at the bottom of the side navigation bar.
- Click the Screens tab.
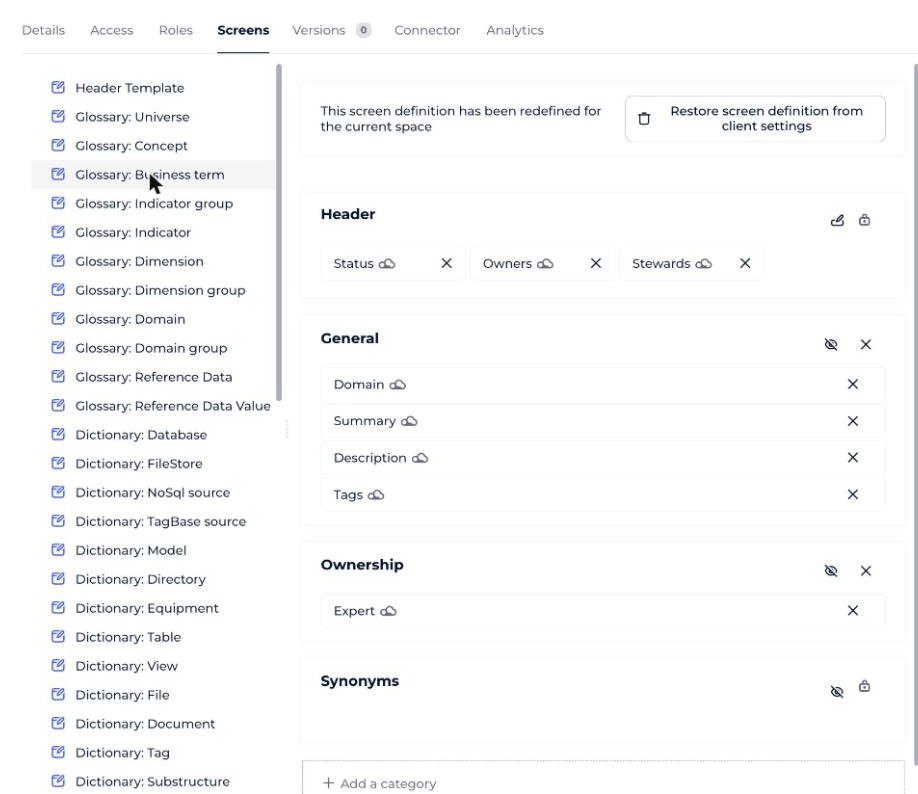
- Choose the module and object whose screen you want to customize.
- Add or remove categories. A few notes:
- The General and Owner categories can't be renamed.
- The Synonyms category, present on some Glossary objects, can't be removed or renamed.
- The Header category can't be removed, renamed, or hidden. It also has some limitations: Text, Rich text, Value list, and Hierarchical list attribute types can't be placed in the header, and the header is limited to 5 attributes for readability.
- Drag your chosen fields into the categories. All available fields are listed on the right.