When someone leaves your organization or changes role, managing their access and responsibilities can quickly become a significant operational burden — roles to reassign, objects to transfer, a user to delete, and more manual work that can tie up your teams and slow down internal processes.
That's exactly what User Swap solves. In a single operation, an administrator designates the user to delete and the user who will replace them. The platform handles the entire process: transferring roles, reassigning responsibility on the relevant objects, and deleting the departing user's account.
Who can perform a User Swap?
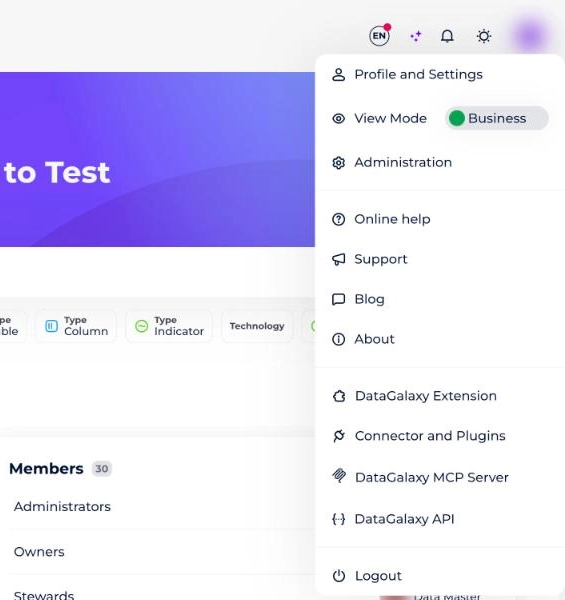
To perform a User Swap, you need to be a client-space administrator. To check whether you have these rights, go to your profile and open the dropdown menu — an Administration option should appear. If it doesn't, you're not an administrator.
For more on the administrator profile and how DataGalaxy's permissions and licenses work, see Overview of License Management.
How does User Swap work?
When an administrator wants to delete a user from client-space Administration:
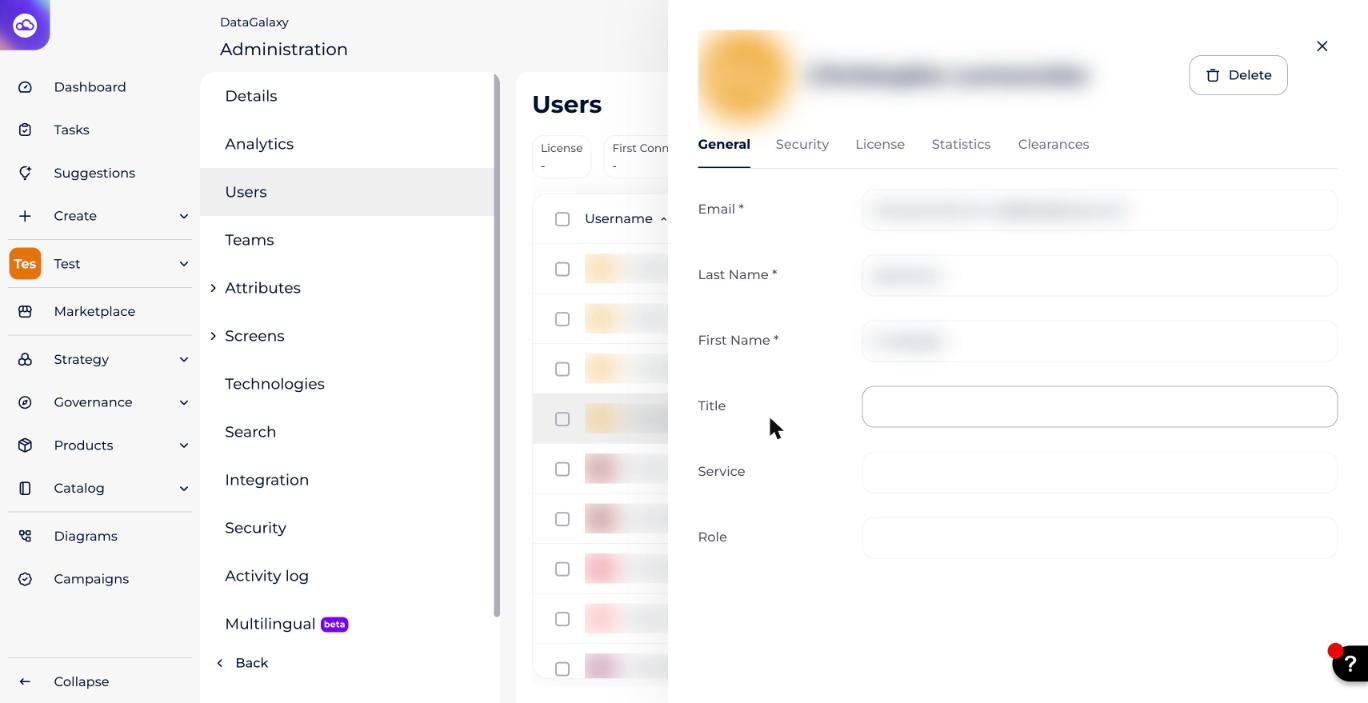
- Go to client-space Administration.
- Go to the Users tab.
- Click the name of the user in question to open a preview.
- Click the Delete button in the top right.
A window then appears, summarizing two key pieces of information:
- The workspaces where this user is set as a default official role (Owner, Steward, etc.).
- The workspaces where this user is identified as Owner, Steward, or another role directly on object sheets.
Based on this information, the platform lets you designate a replacement user to transfer all of these responsibilities to, before finalizing the deletion.
Completing the swap
- Click the Select a user button.
- Select the replacement user of your choice in the new step that appears. All of the departing user's responsibilities (default roles and roles on objects) will be automatically transferred to them.Screenshot: selecting the replacement user. (Re-add this image here — the original Freshdesk link expires after a few days.)
- Check the box to authorize the use of your PAT (Personal Access Token).
- Click Confirm to validate and launch the operation.Screenshot: the confirmation step, with the PAT authorization checkbox. (Re-add this image here — the original Freshdesk link expires after a few days.)
Tracking and notifications
Once confirmed, an instant notification confirms the process has started and is running in the background. You can keep using the platform in the meantime.
Once the operation completes, two notifications are sent automatically:
- To the administrator who started the User Swap, confirming it succeeded and that the original user has been deleted.
- To the replacement user, with a full summary of every responsibility that was transferred to them.
Every User Swap action is logged in the Users tab, under the activity panel. You can track which administrator started the swap, who replaced whom, and which user was deleted.