Client-space user management is where you create and delete users, import and export them in bulk, set their licenses and admin rights, and review what they have been doing.
Who can access client-space user management?
Only client-space administrators have access to this feature. Granting admin rights to a new user is covered later in this article.
How do I get to client-space user management?
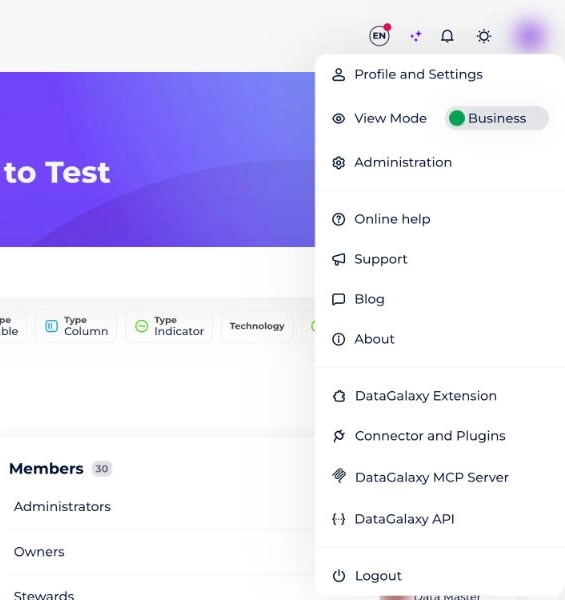
- Click your icon in the top right of the screen.
- Click Administration from the dropdown.
- Click the Users section in the left-hand menu.
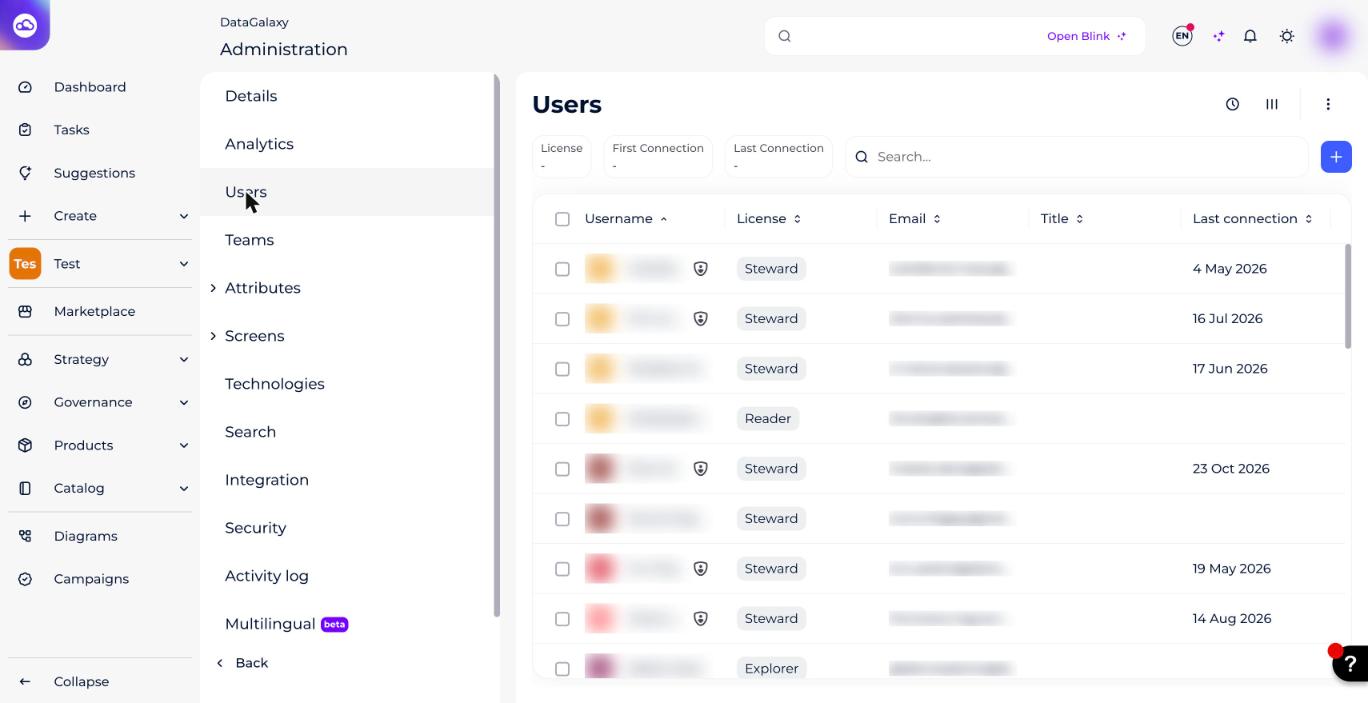
- Filter the user list by license, first connection date, and last connection date with the License, First Connection and Last Connection filters at the top of the list, or search by name.
- Click a user's name in the table to view their details. A preview opens on the right side of the screen.
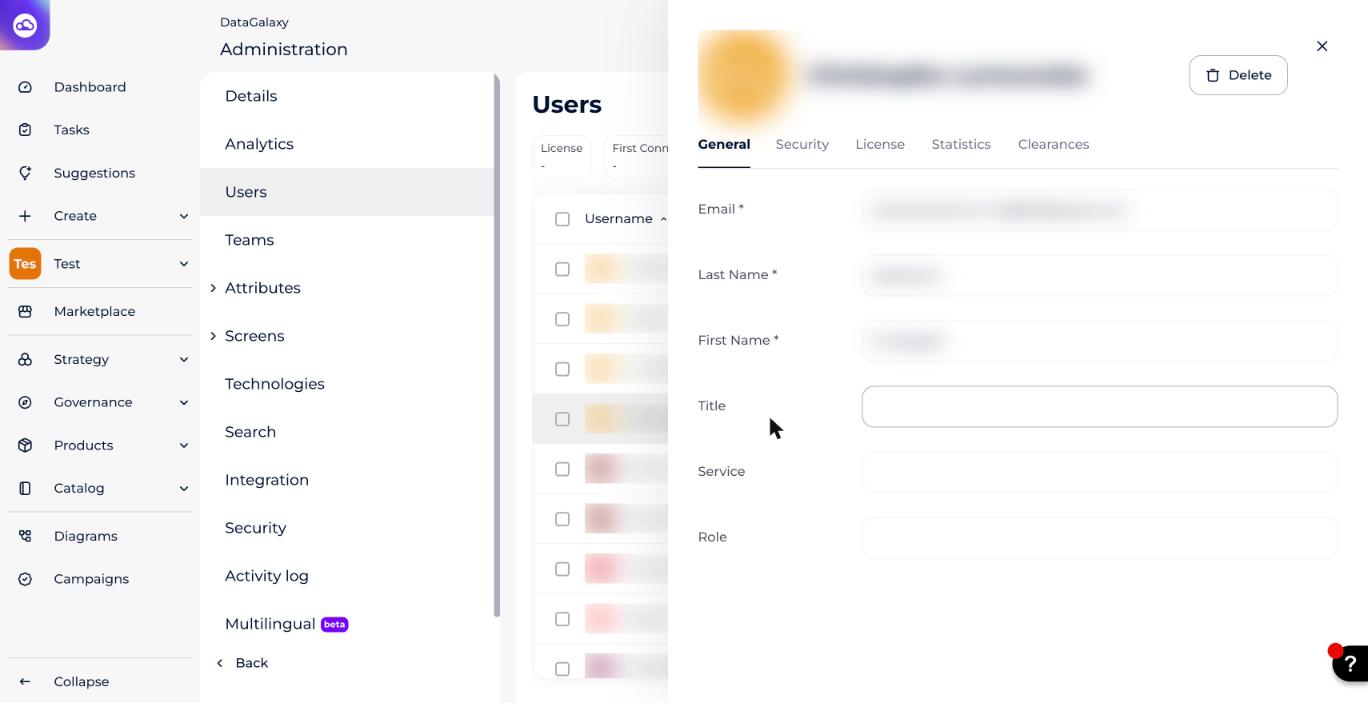
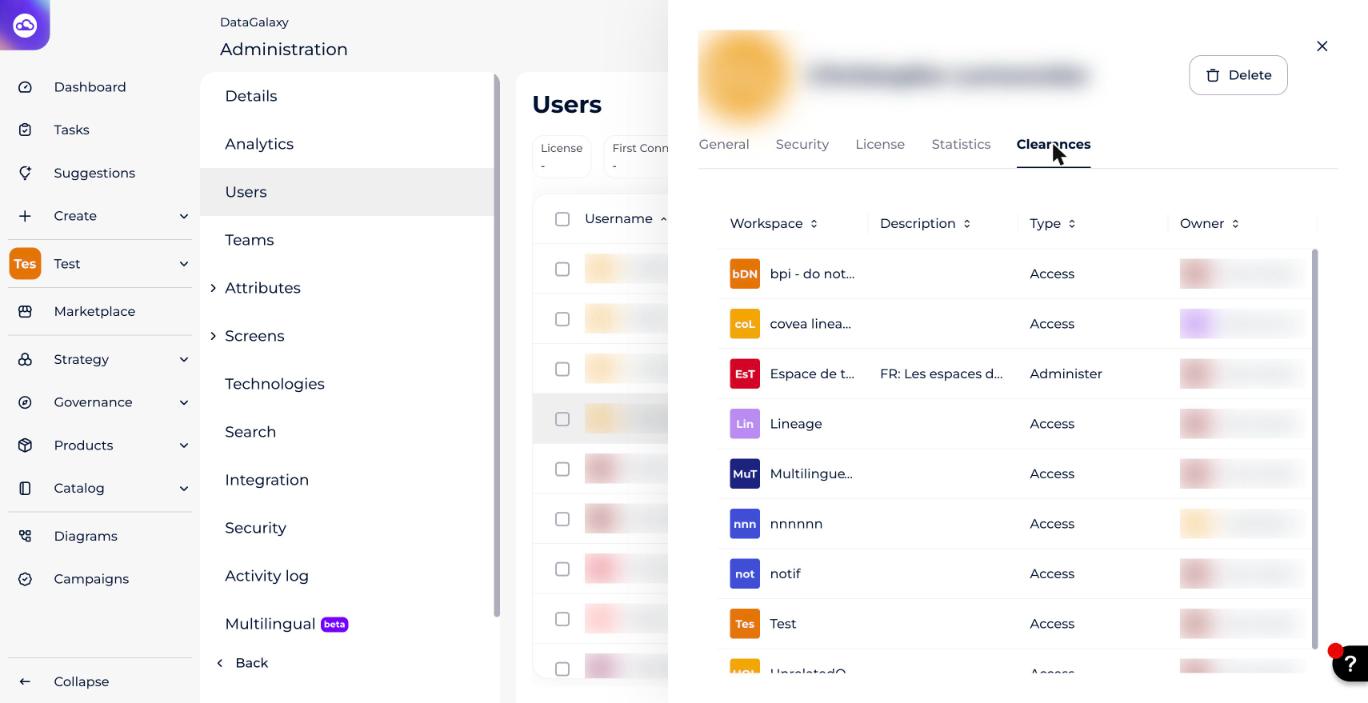
The preview has five tabs: General, Security, License, Statistics and Clearances.
How do I manage users at the client-space level?
1 — Create a new user
To create a new user who doesn't yet have a DataGalaxy account under their email address:
- Click the blue
+button to the right of the search bar, at the top of the user list (see the user list screenshot above).
- Fill in every field in the modal that opens, then click Create.
2 — Delete a user
You can permanently delete a user from the platform.
3 — Import users
Importing users lets you create or update users in bulk.
To get the user import template, export your existing user list first (see the next section).
To import users into the client space:
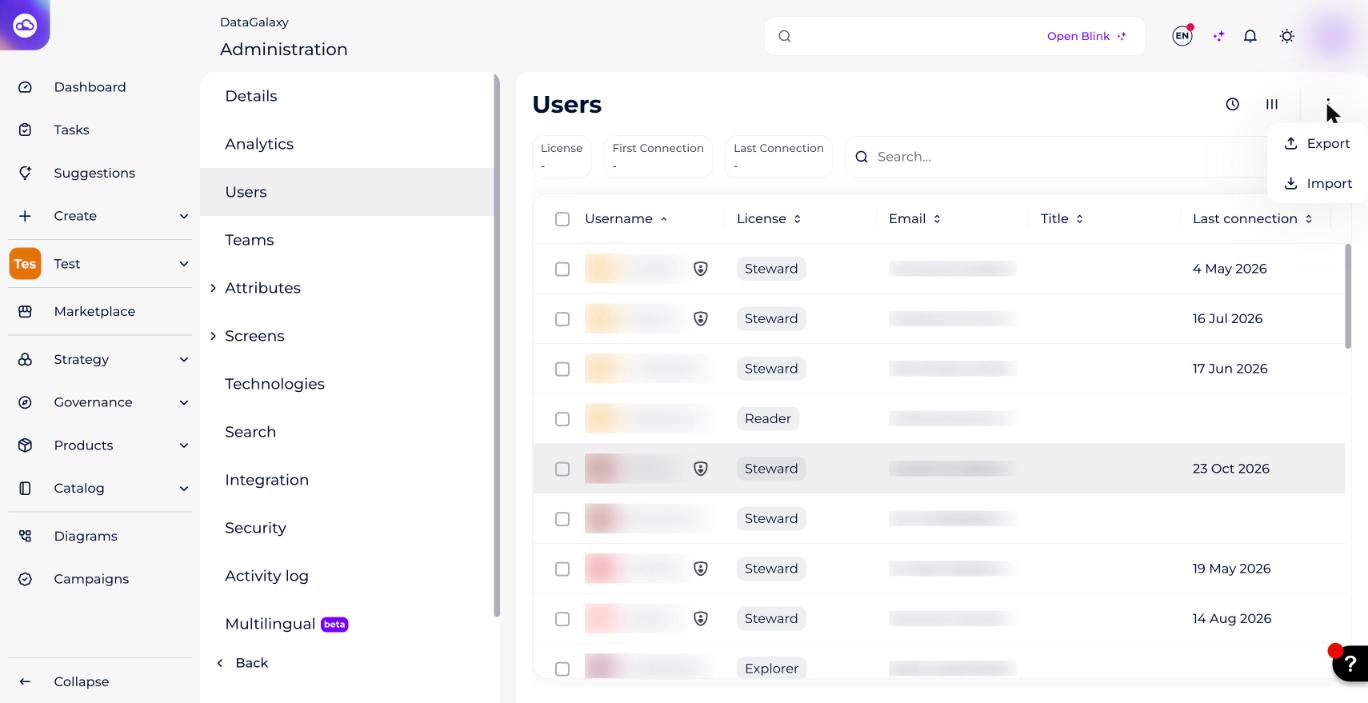
- Click the three dots at the top of the user list.
- Click Import from the dropdown.
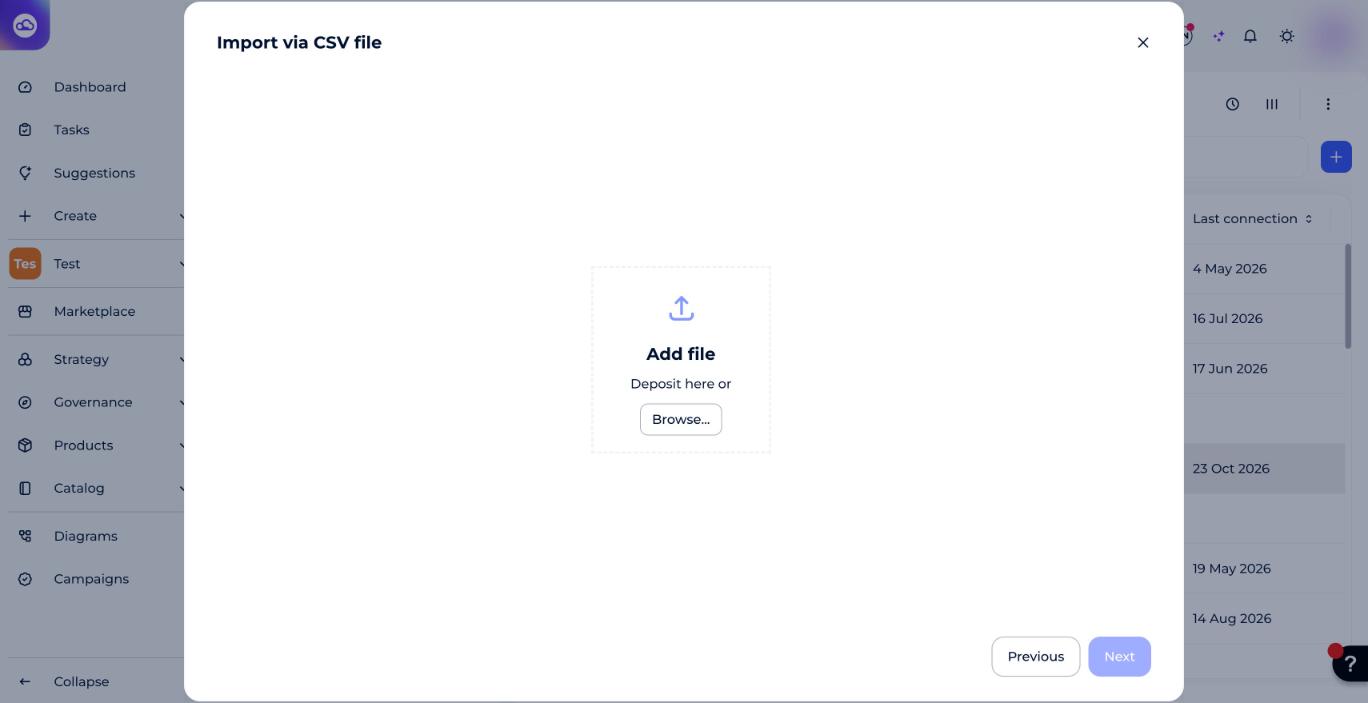
- In the Import via CSV file modal that opens, drop your file in the Add file area or click Browse....
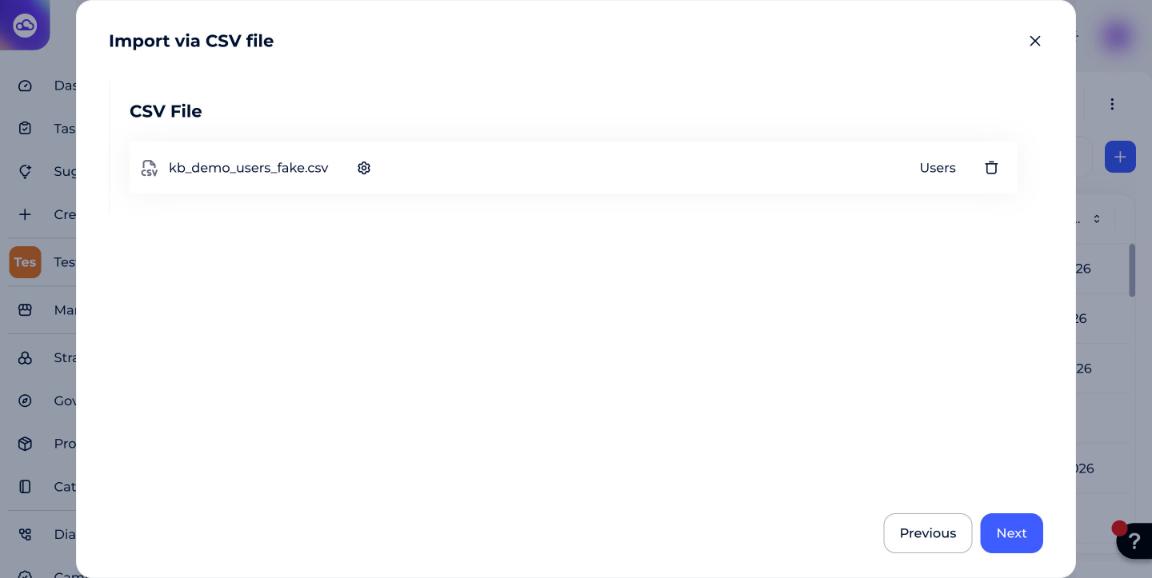
- Upload the CSV file containing your user list, then click Next.
- Map the fields you want to import via drag and drop, then click Import. Mapping happens automatically when a CSV column name matches a field name.
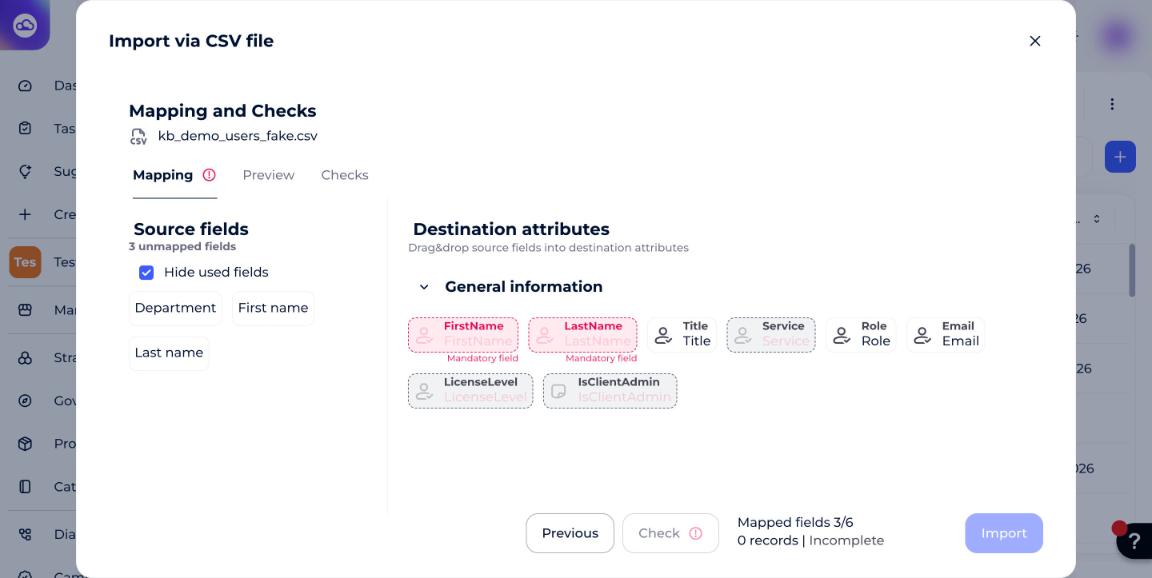
4 — Export users
Exporting the client space's user list produces a CSV with these fields:
- Last name
- First name
- Title
- Department
- Role
- Is a client-space administrator?
- License
- First login date
- Last login date
- License start date
- License end date
To export the user list:
- Click the three dots at the top of the user list.
- Click Export from the dropdown (the same menu as for the import, shown above).
5 — Change a user's license
This can only be done through the interface — licenses can't be changed via import.
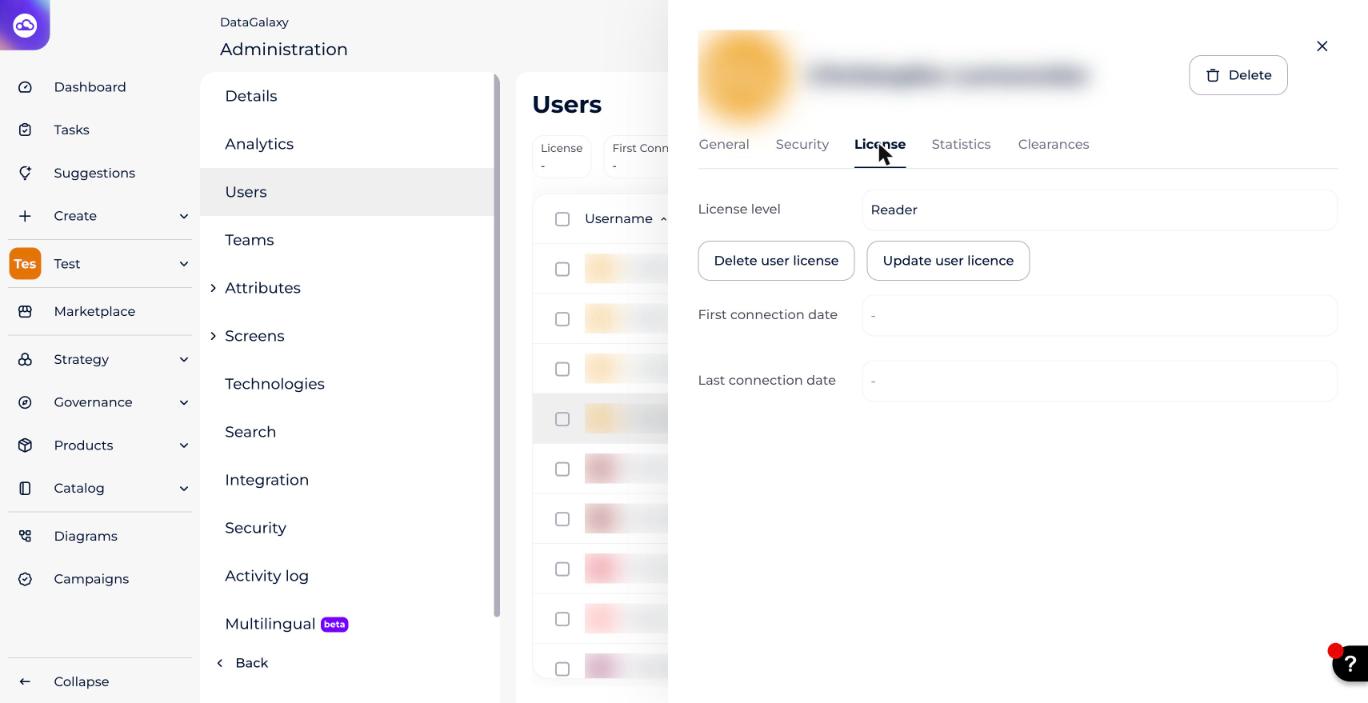
You can either change a user's license or remove it entirely: open the user's preview, go to the License tab and click Update user licence or Delete user license. The tab also shows the user's first and last connection dates.
6 — Grant administrator rights
For more on the client-space administrator role, see Manage the Client Space.
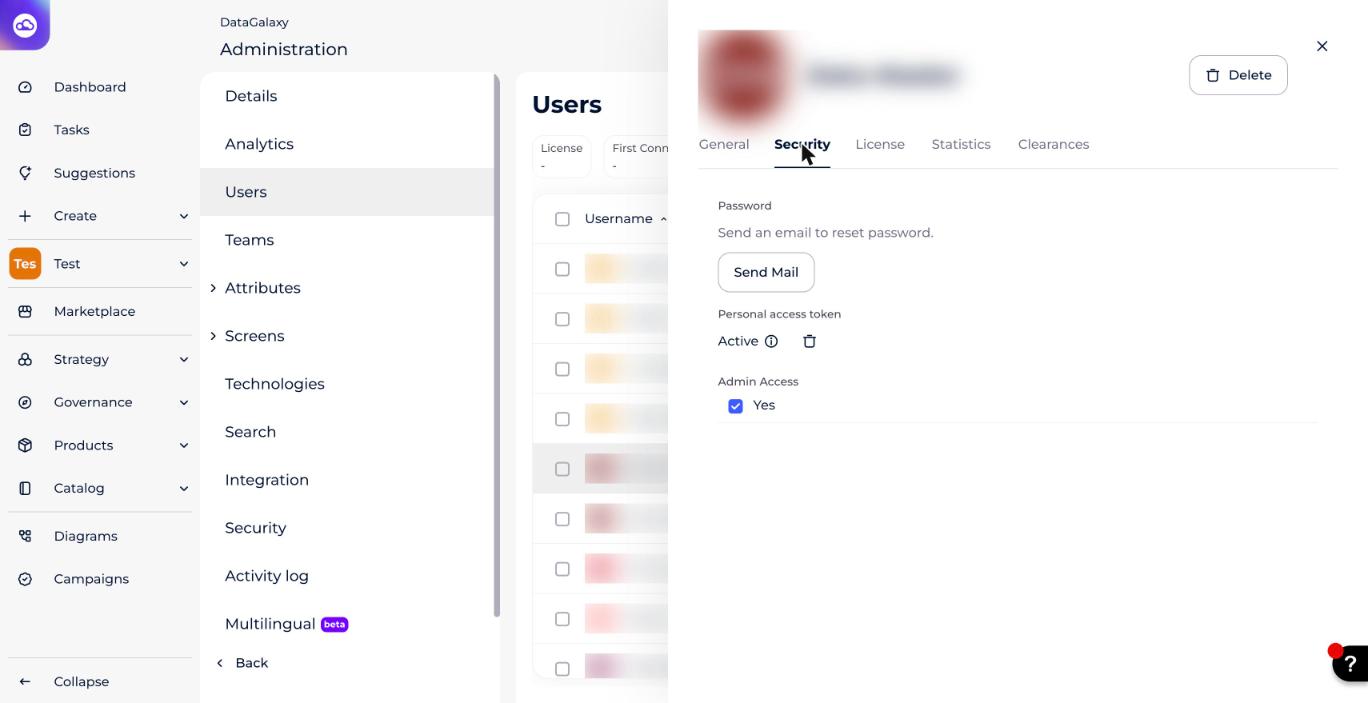
To grant a user client-space administrator rights, open the Security tab of their preview and check the Admin Access box. To remove them, uncheck it. The same tab lets you send a password-reset email and shows whether the user has an active personal access token.
How do I view information about client-space users?
1 — Recently modified objects
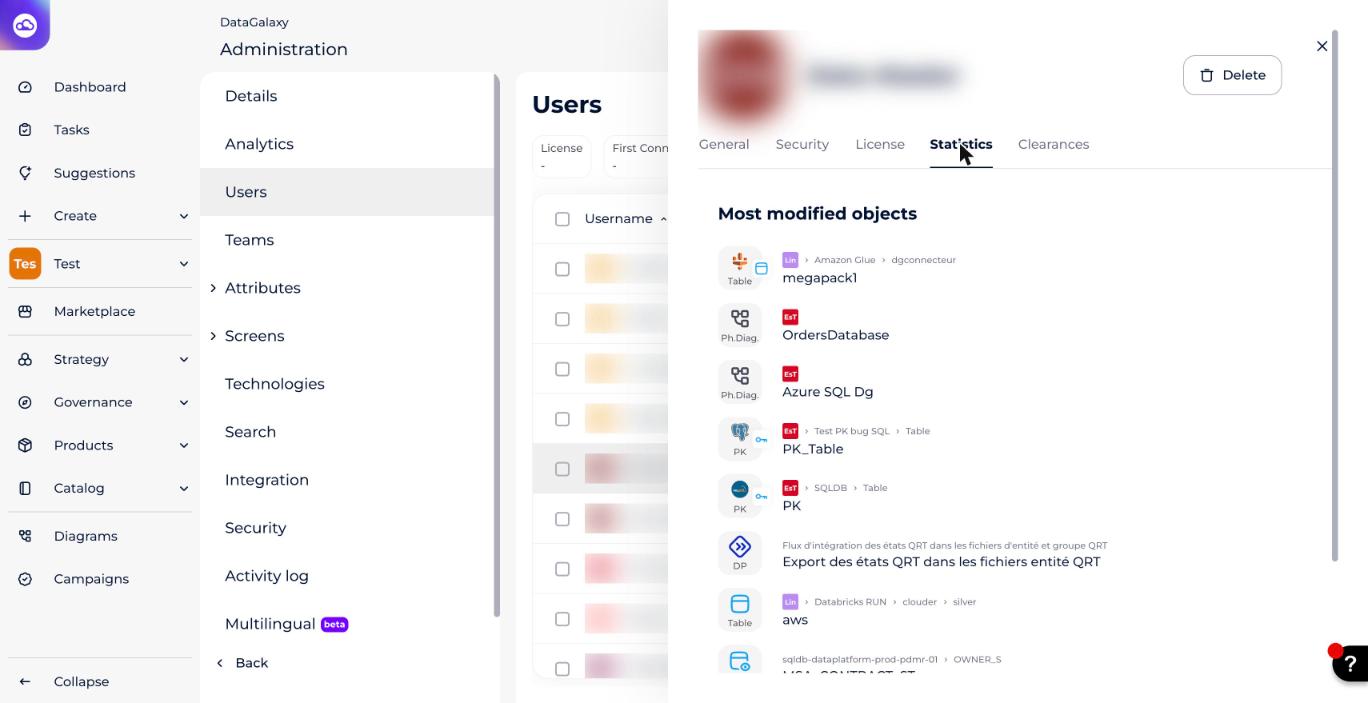
You can see the 5 most recently modified objects for each client-space user, from that user's profile's Statistics tab.
2 — Workspace access
Keep track of each user's access rights across workspaces from the Clearances tab, which lists each workspace with the user's access type (for example Access or Administer) and the workspace owner.